Best Bikepacking Guide: What Gear to Take and How to Pack

You love long day trips on your bike, but lately you’ve been craving some extended exploration. If that sounds like you, it’s time to plan a bikepacking trip!
Put simply, bikepacking is an overnight or multiday adventure on your bike. Bikepacking can take you far away from civilization, which is part of the appeal. But, if you’re going to be removed from modern conveniences, you’ll need to pack smart. The best way to pack for a bikepacking trip is to balance lightness with utility. To help, we’ve put together a guide that will get you prepped for your journey in no time.
Essential Gear for Bikepacking
To figure out what essential gear you need, first you’ll need to decide how many days you’ll be on the trail and where you’ll sleep. Many people opt to check into accommodations overnight, but camping is perfectly possible. Next, check the forecast. You’ll want to know the temperatures and any possible precipitation. Now you’re ready to assemble your gear:
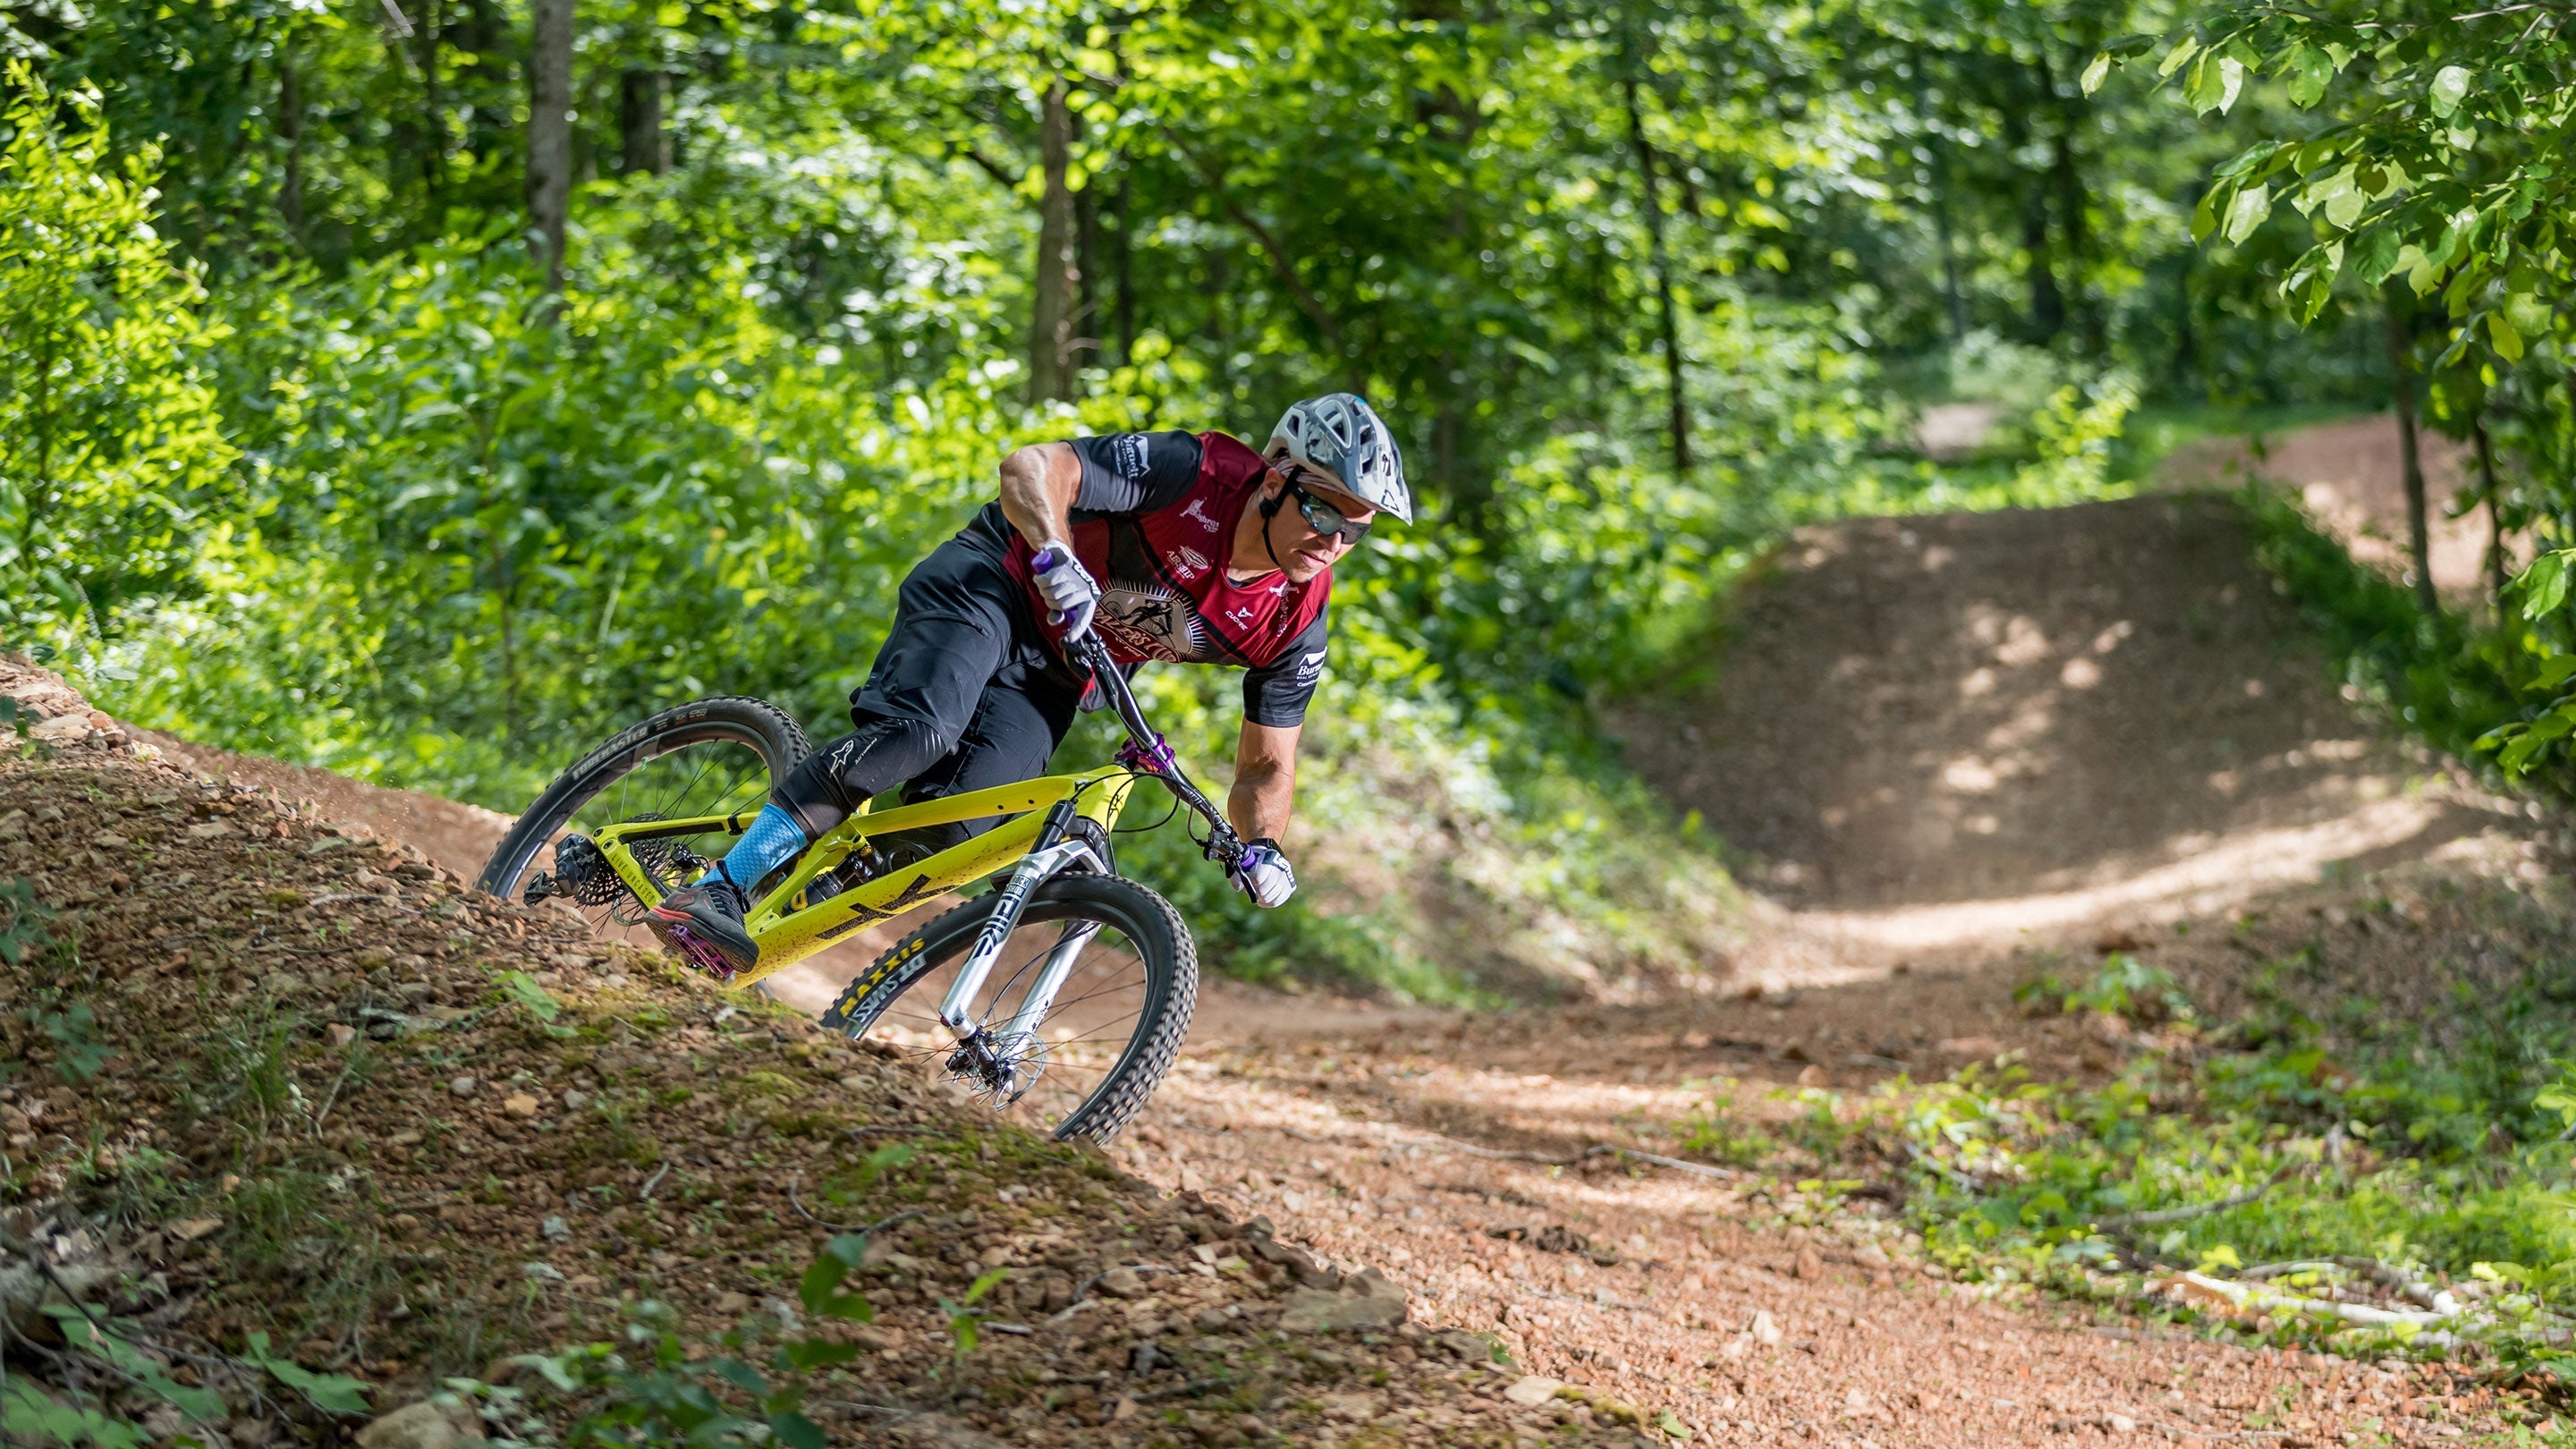
- Bike gear: Start with the obvious essentials including your bike, helmet, and lights. Consider packing a bike lock, too.
- Shelter: Include a lightweight tent, tarp, bivy, or hammock.
- Sleep system: Don’t skimp on your sleeping bag and pad. Use your clothing as a pillow.
- Cooking: Keep it simple with a stove, fuel, lighter, pot, mug, and spork.
- Water: You’ll need a water filter, purification tablets, and a bottle.
- Food: Dehydrated meals are light and filling and snacks like gel packs, nuts and bars travel well.
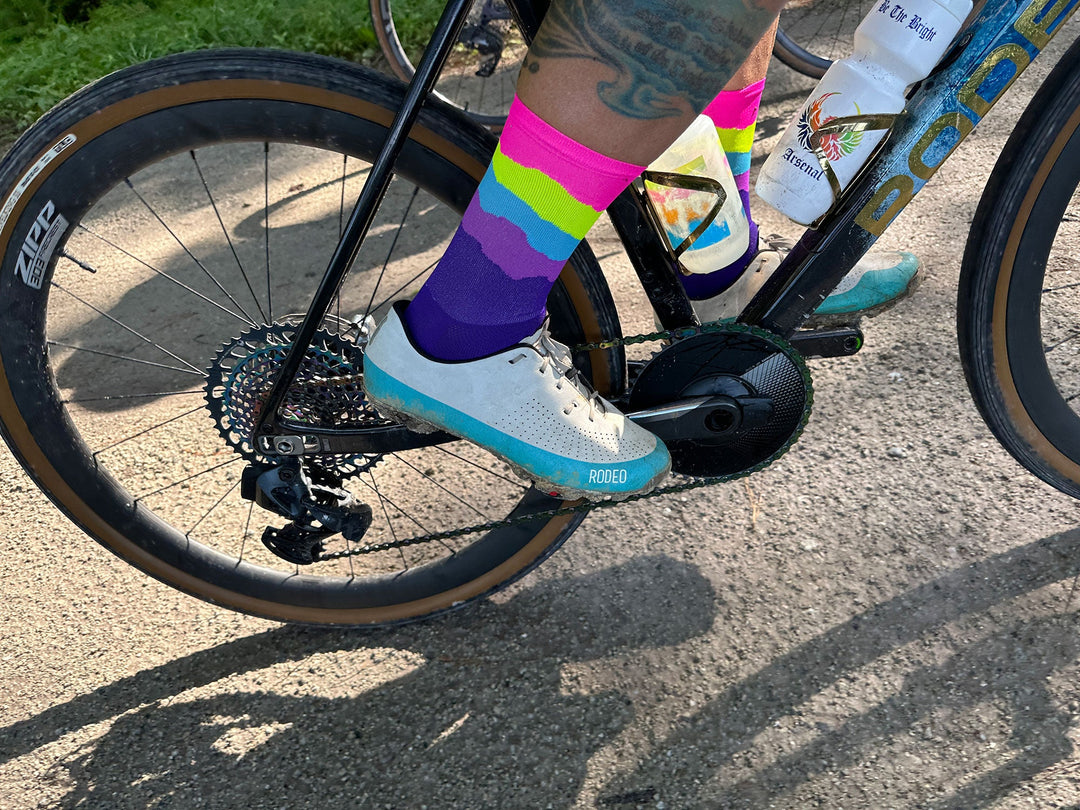
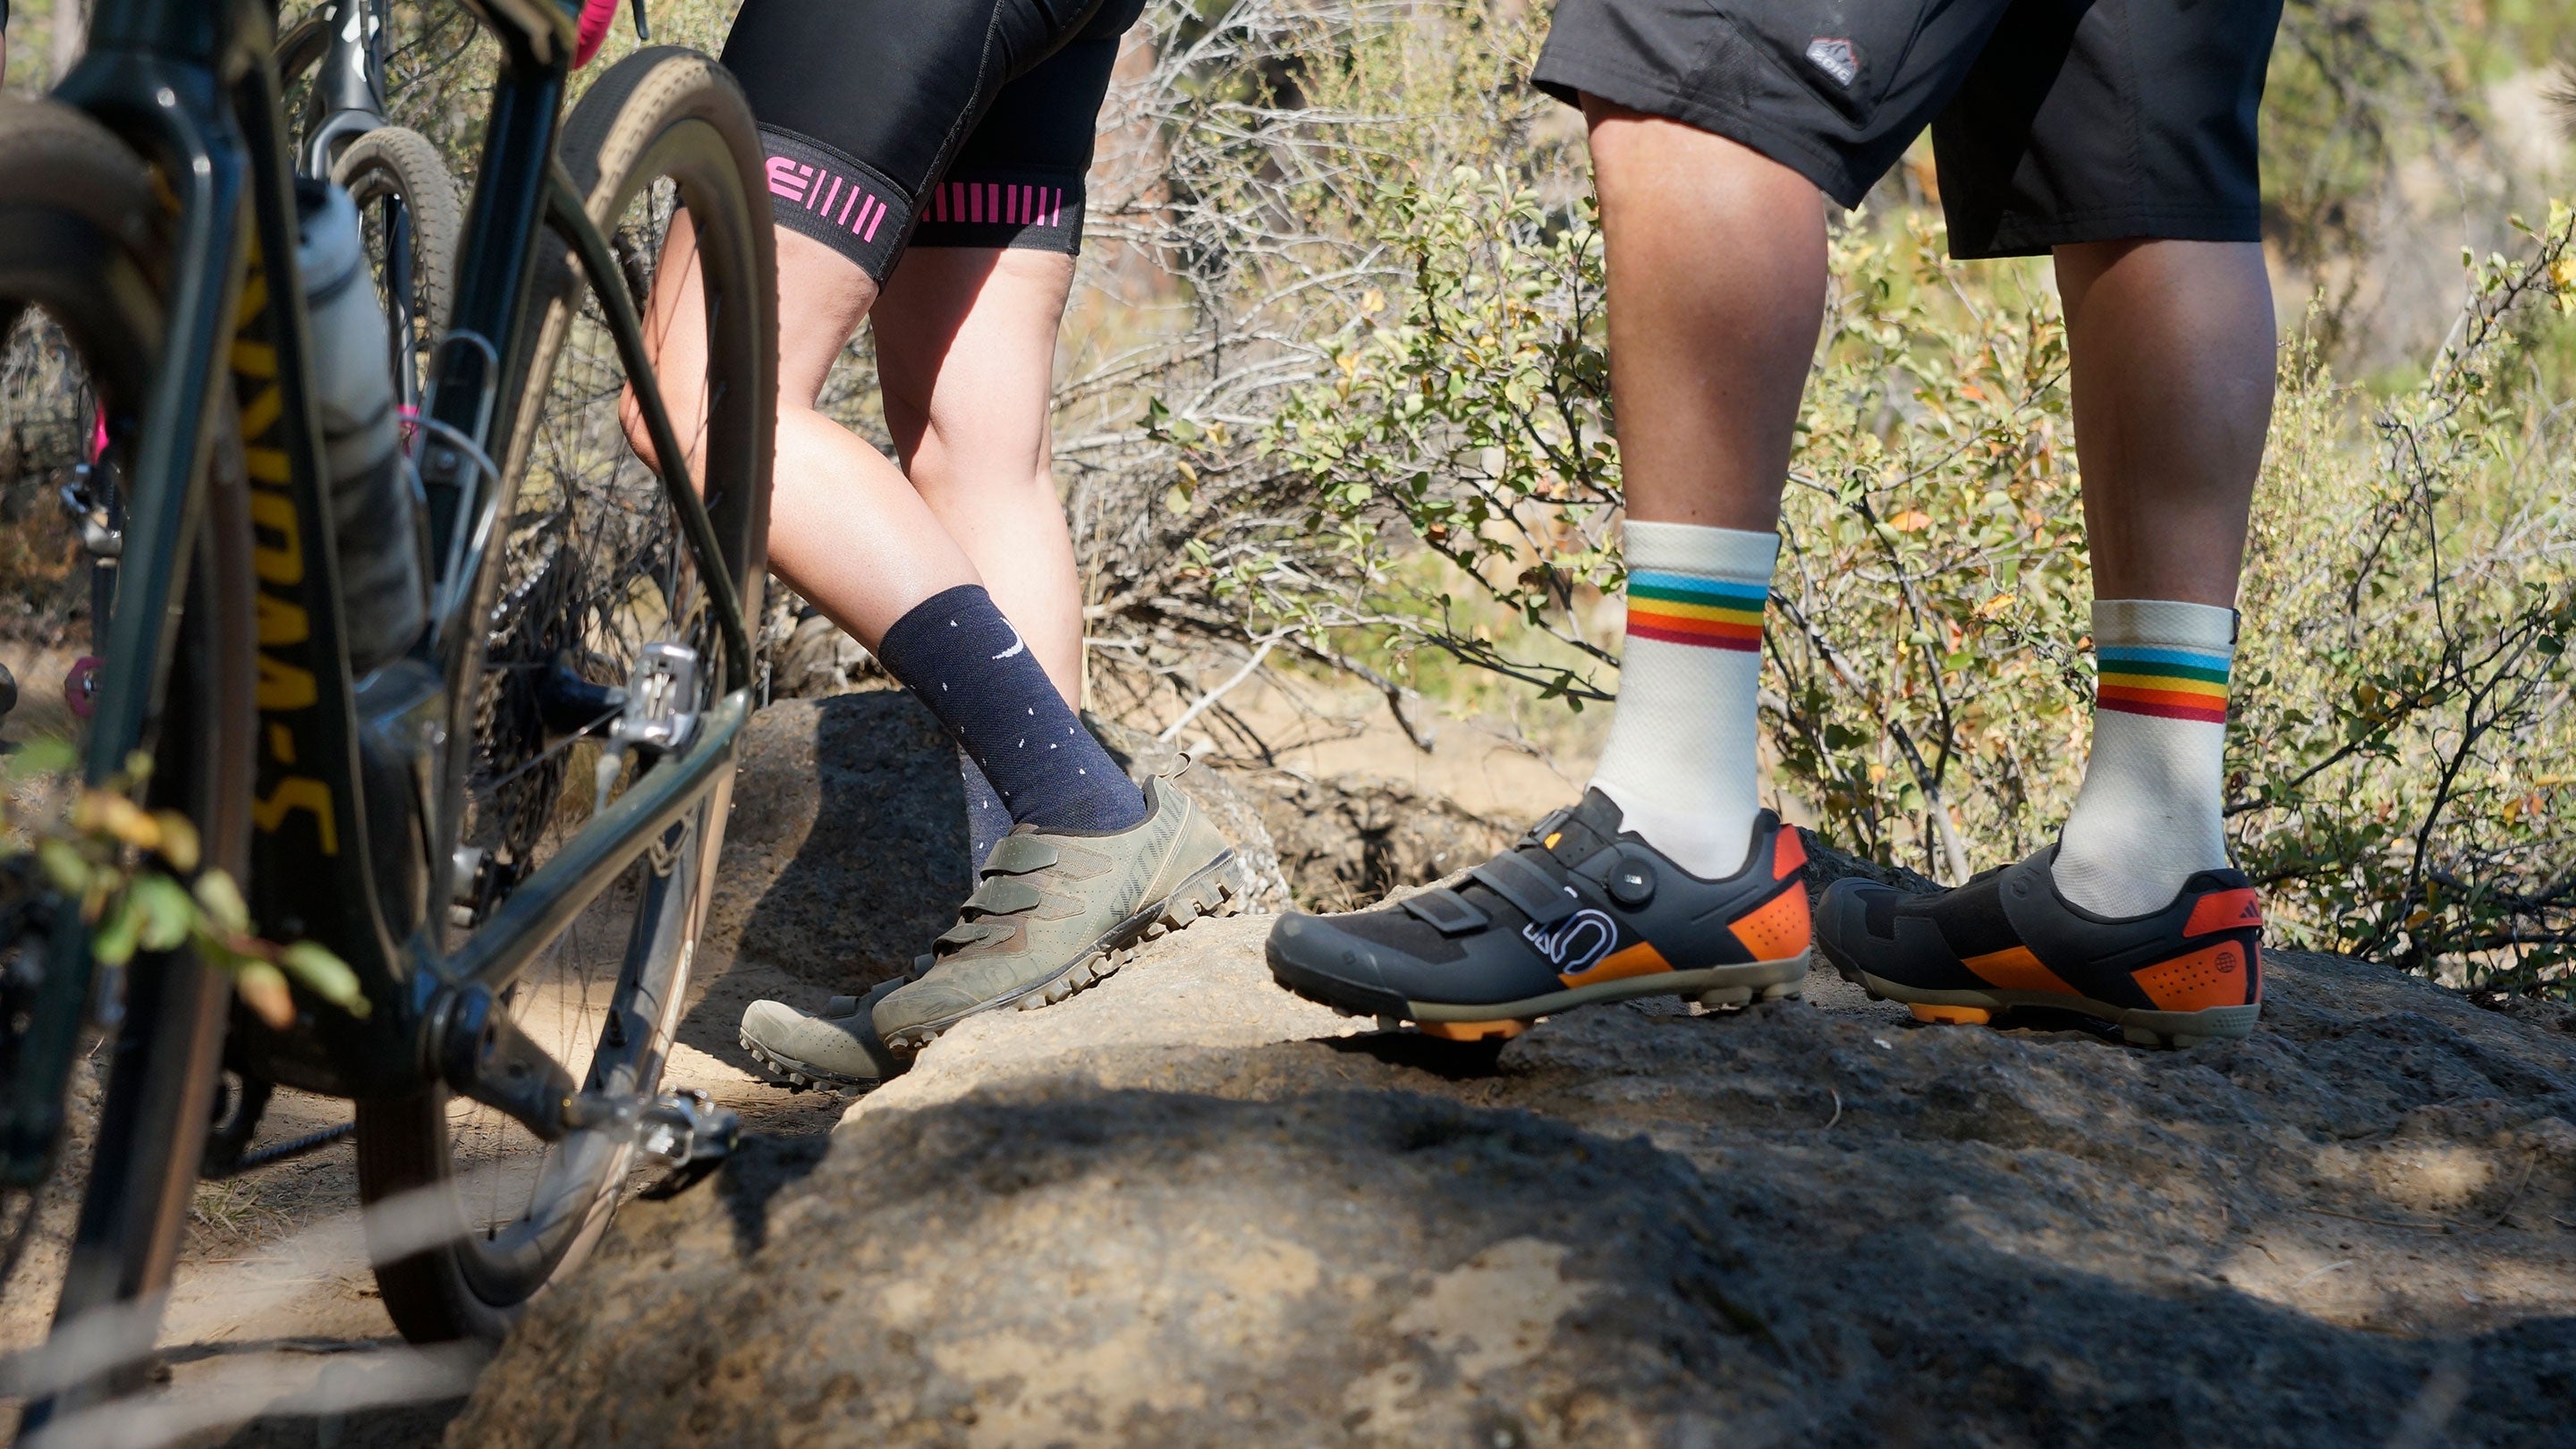
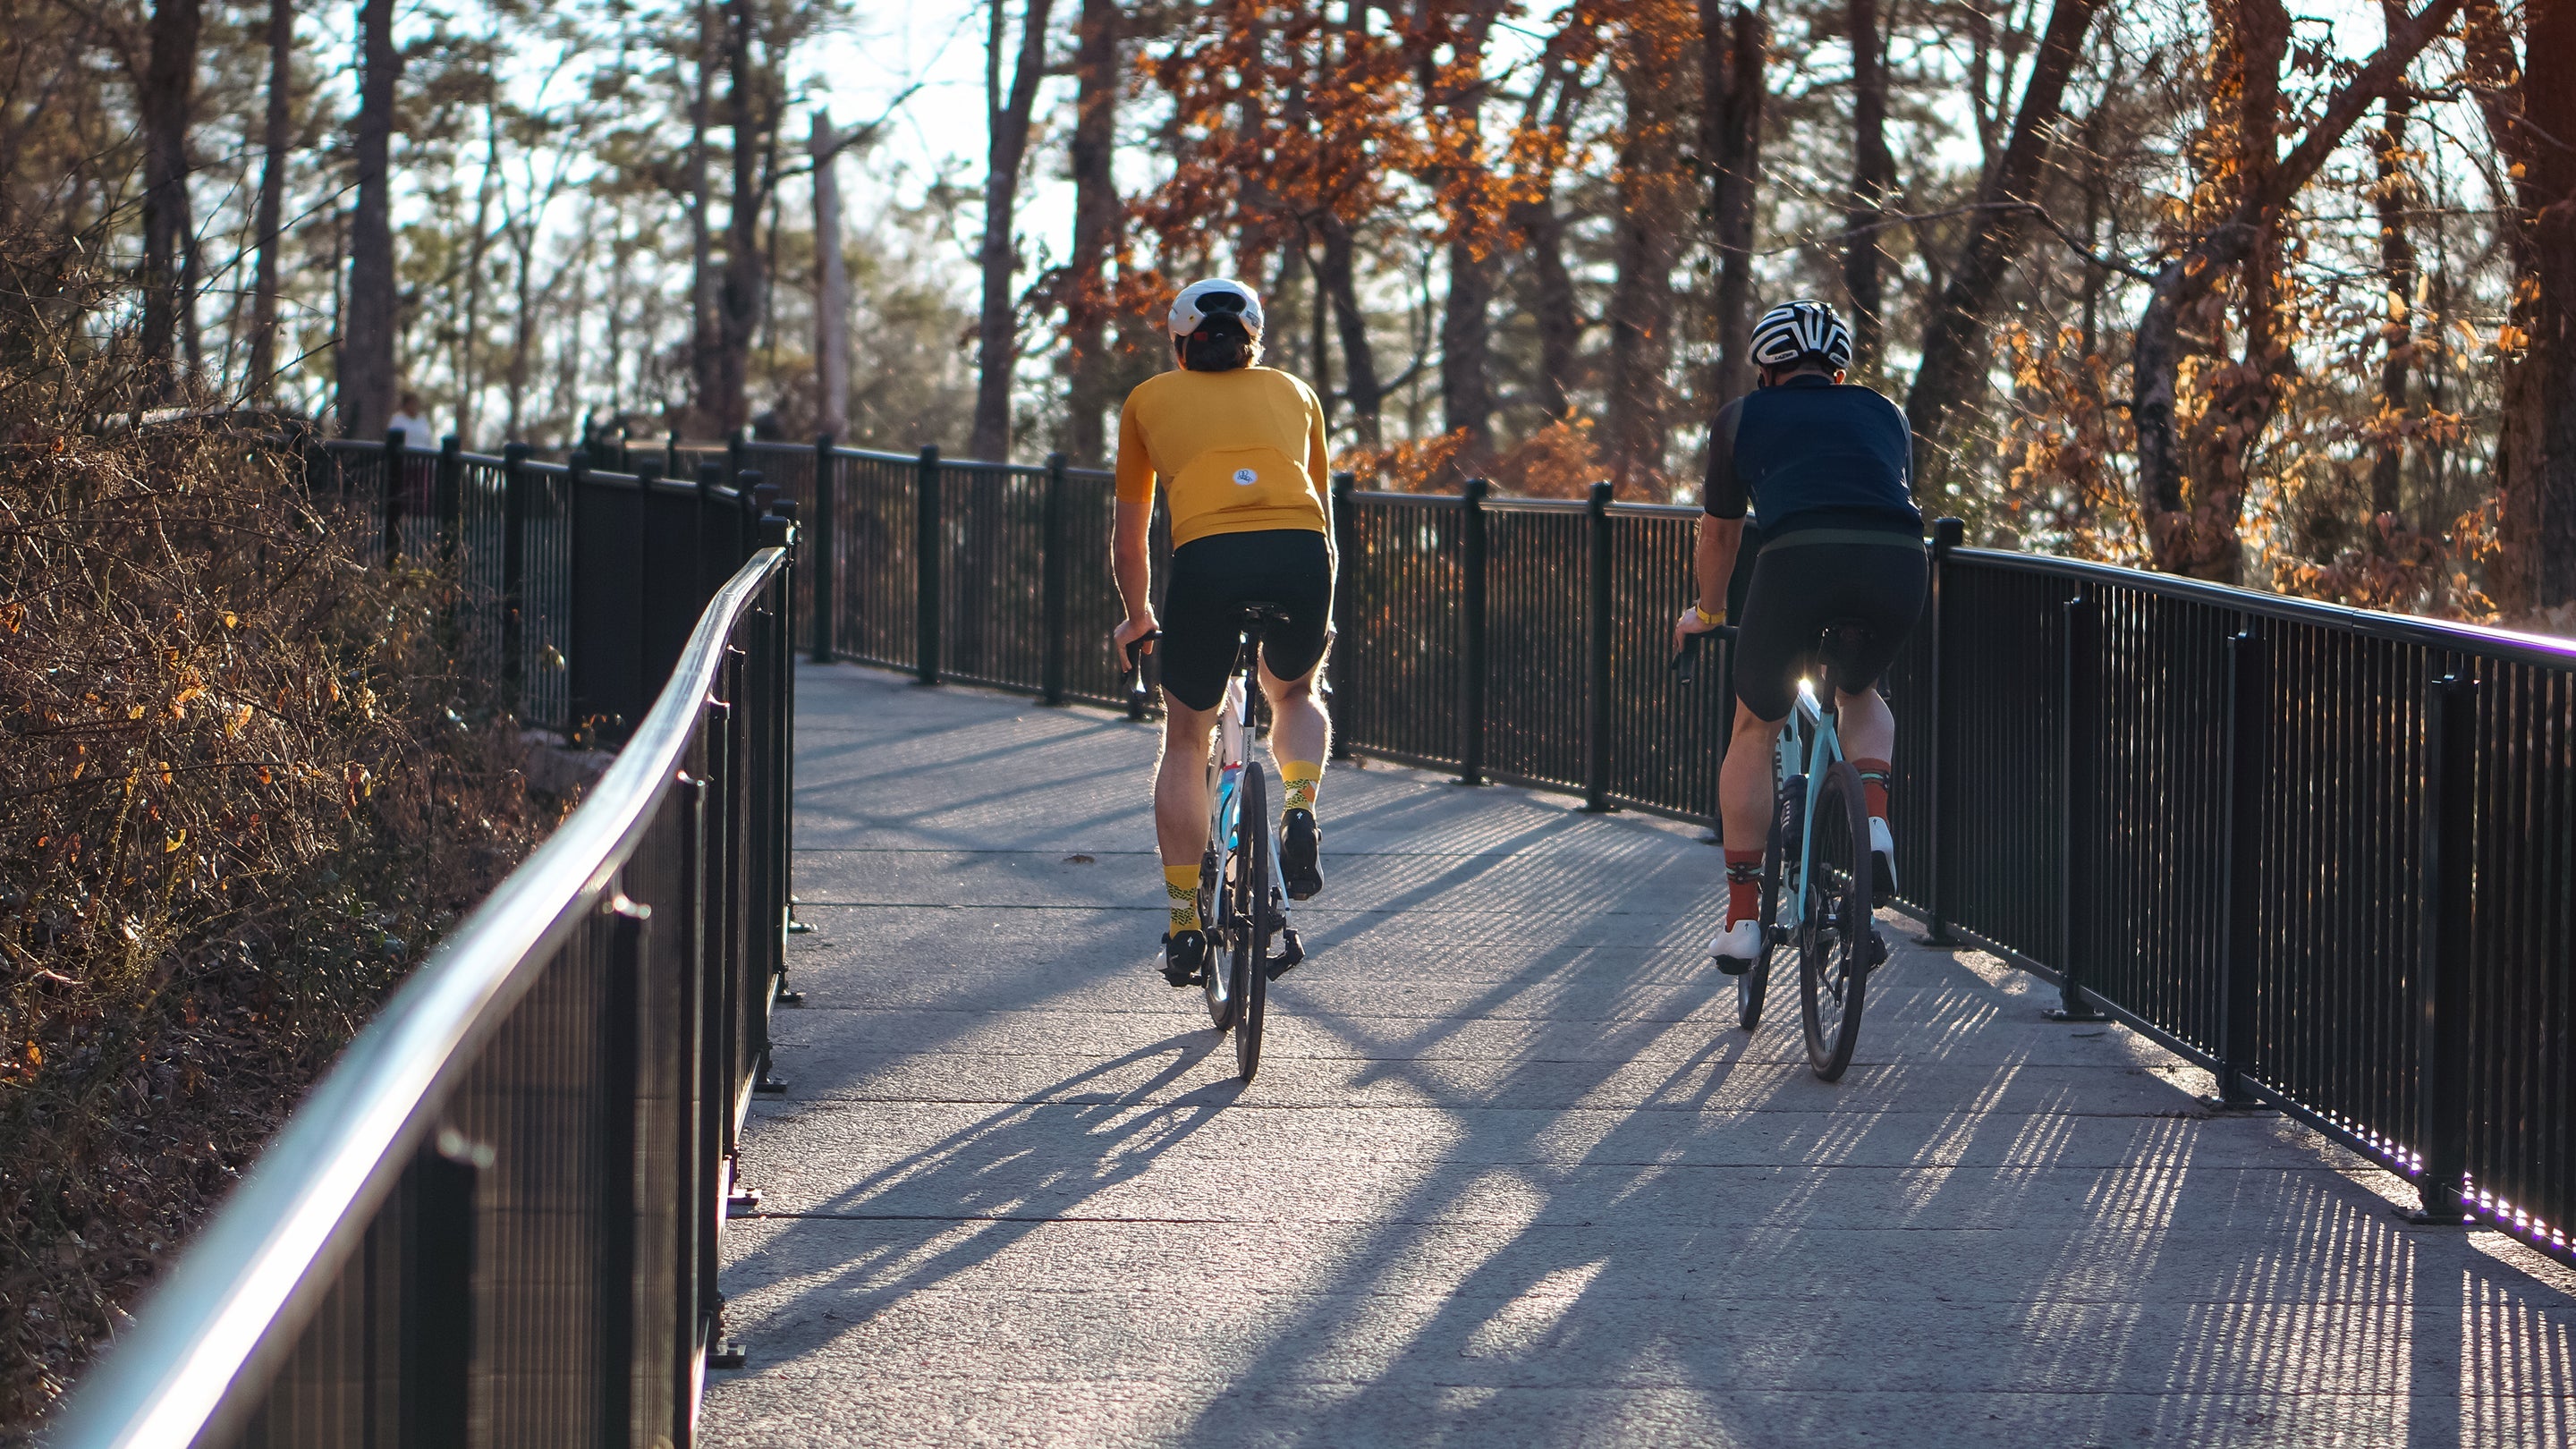
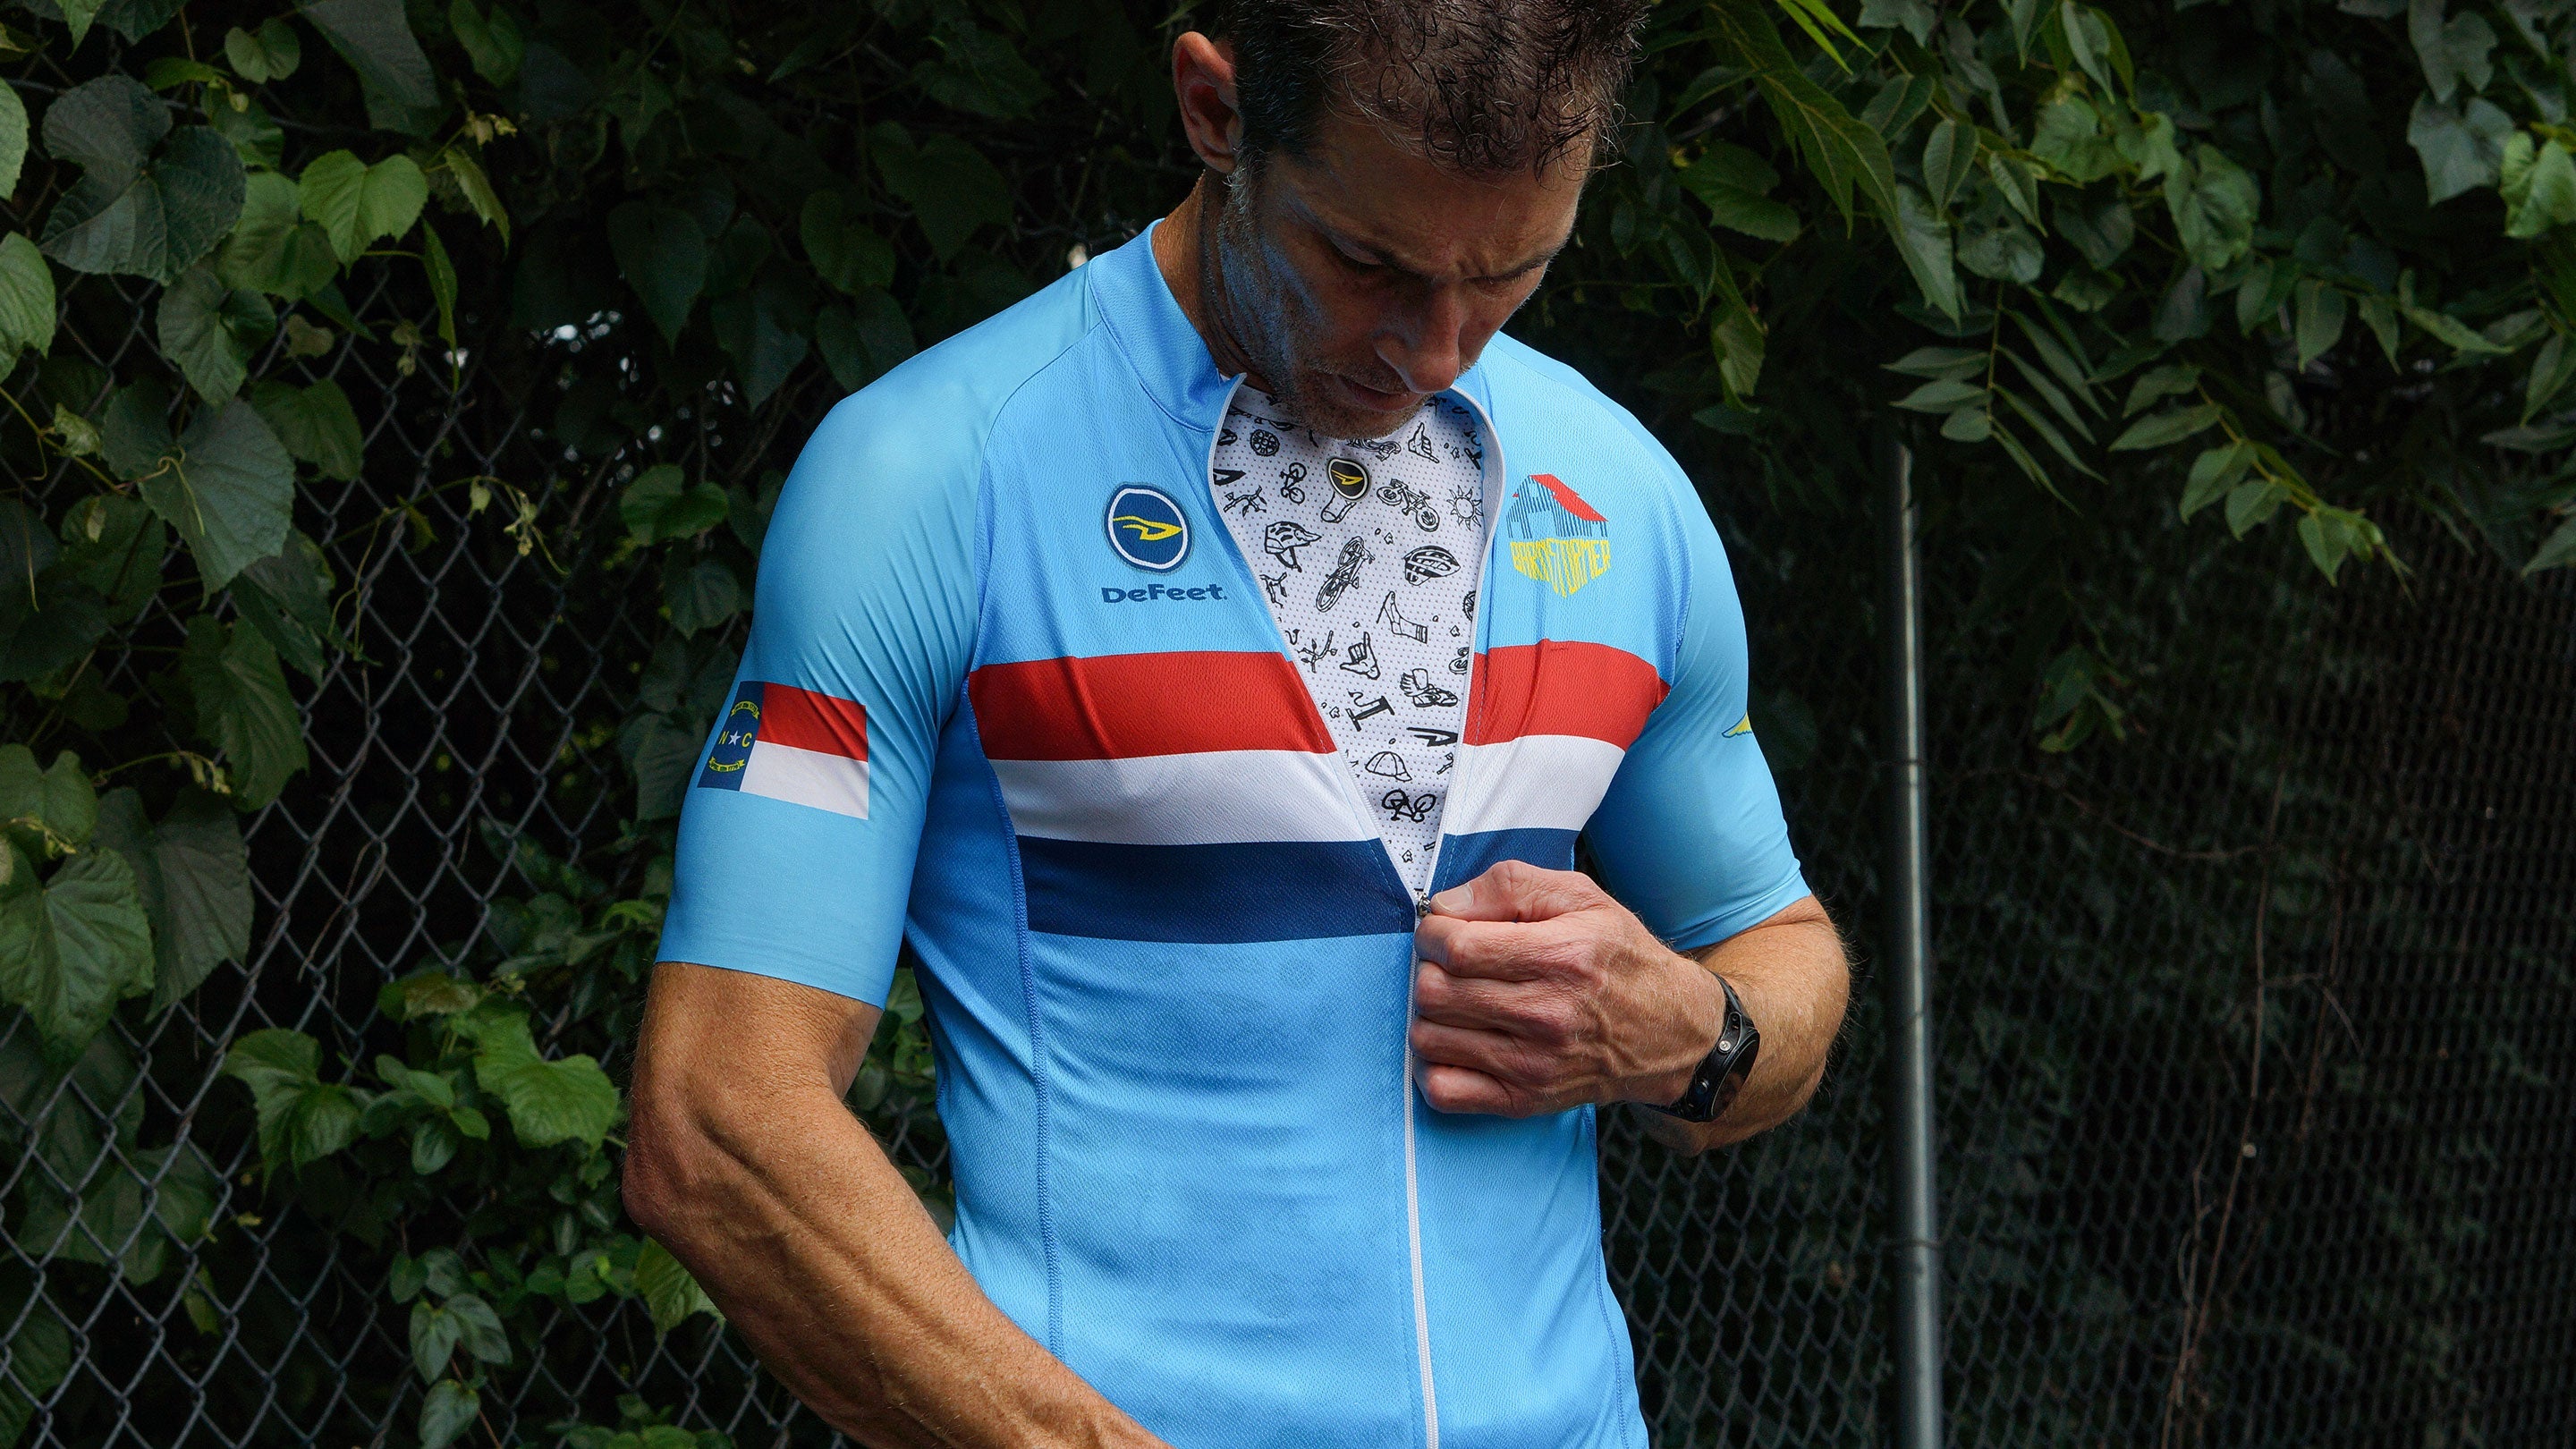
- Clothing: Dry clothing is important for each ride. Pack clothes for riding like bike shorts, cycling socks, rain gear, bike gloves, and for camp, such as a hat, underwear, and outerwear.
- Navigation: Analog options are great if you lose signal; pack a map, compass, and route description. If you opt for GPS, remember a battery backup.
- Hygiene/toiletries: Sunscreen, lip balm, toothpaste, and toilet paper are necessities.
- Bike repair tools: Spare tubes, a patch kit, pump, tire levers and a multi-tool can get you out of tight spots.
- First-aid supplies: Have blister pads, bandages, and pain-relief pills on hand.
- Miscellaneous: if you’ve got extra space, you could include extra batteries, sunglasses, a camera, journal, and pen.

How to Pack Your Bike
A bike doesn’t handle as well when it’s loaded with gear, but with strategic placement you can still enjoy a safe, fun ride. Most cyclists pack their gear on three main areas of the bike: the handlebars, frame, and seat.
- Handlebar Pack: Lightweight, bulky items go here like sleeping pad, tent, and clothes. You’ll also want to keep items you need frequently here like lip balm, gloves, rain gear, and snacks. Put these in last so they’re easy to access.
- Frame Pack: This pack fits in the triangle of your bike. Frame packs are great for heavier items like your stove, fuel, and repair kit. Putting weightier items in low and central keeps your center of gravity low and maintains stability.
- Seat Pack: Lightweight, bulky items that you won’t need to access often go in your seat pack. These can include your sleeping bag, and camp clothing and of course extra cycling socks. This pack should be about the same weight as your handlebar pack to make balance easier.
If you’re going to be bikepacking for extended periods of time, you may also opt for a backpack but beware that this can become uncomfortable after a while so keep it light.
Final Bikepacking Tips
Do your best not to overpack but remember that you’ll learn as you go. One of the best ways to feel confident about your preparation is to take a test ride with all your gear. Testing out your packing strategy will give you an opportunity to refine and cut weight before your big trip.
And of course, be sure that you’ve got enough high-performance cycling socks to keep your feet happy as you log those miles!